In this post, we will show you how to convert your PSD to HTML in Dreamweaver.
Given below are the steps to convert PSD to HTML using Dreamweaver:
1. You need a template in Photoshop. Next, prepare a folder in which you will be putting your HTML files, images, styles sheets and if flash animation. Main folder
- style (all styles sheets would come in this sub-folder)
- images (all images would come in this sub-folder)
- animation (all flash animations would come in this sub-folder)
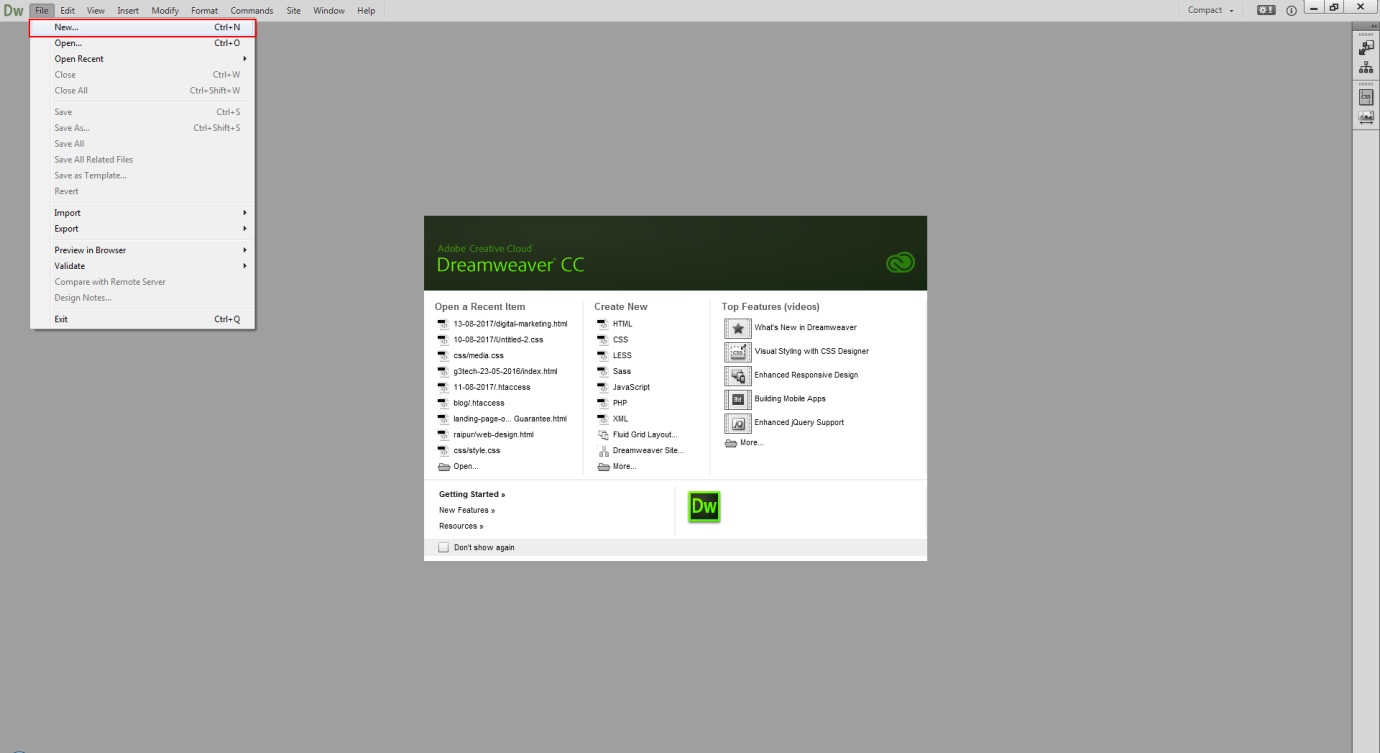
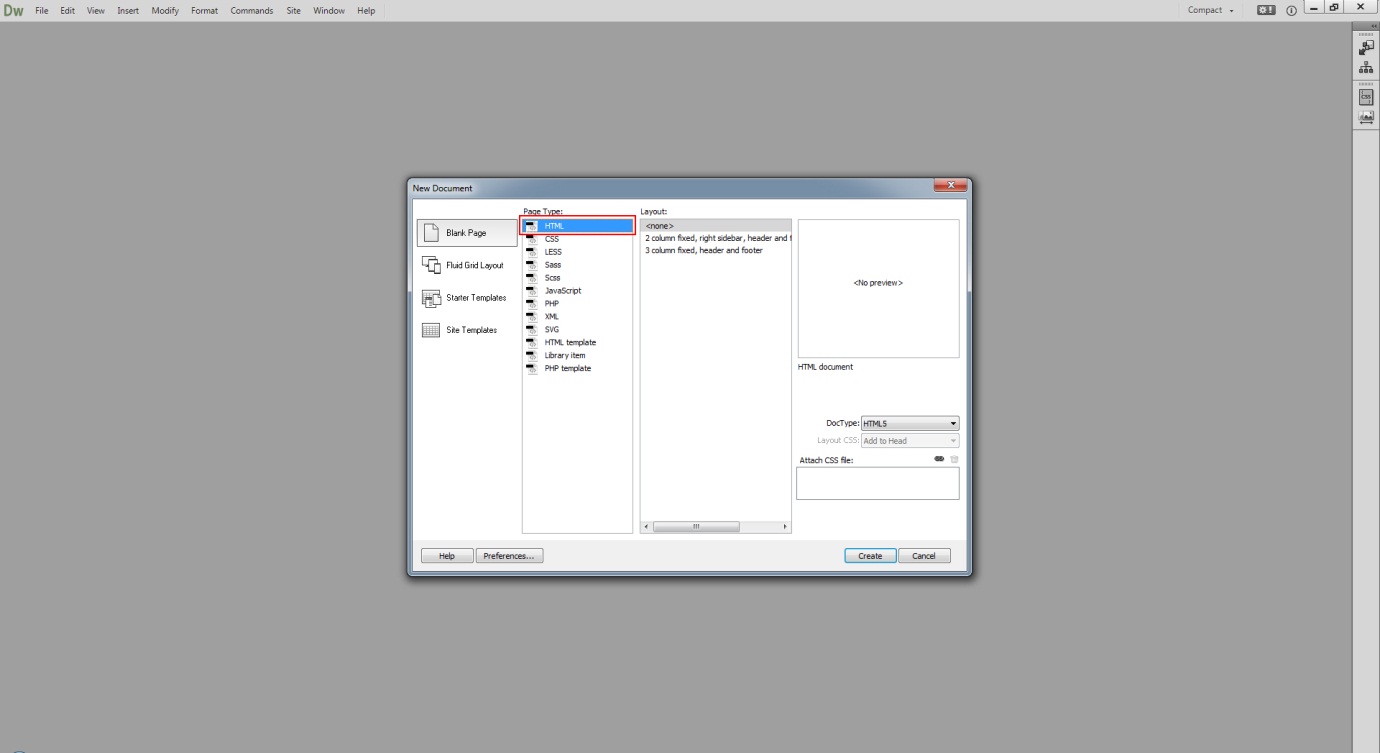
2. You need to take an empty file in Dreamweaver. To do that, you need to click File > New and select HTML.
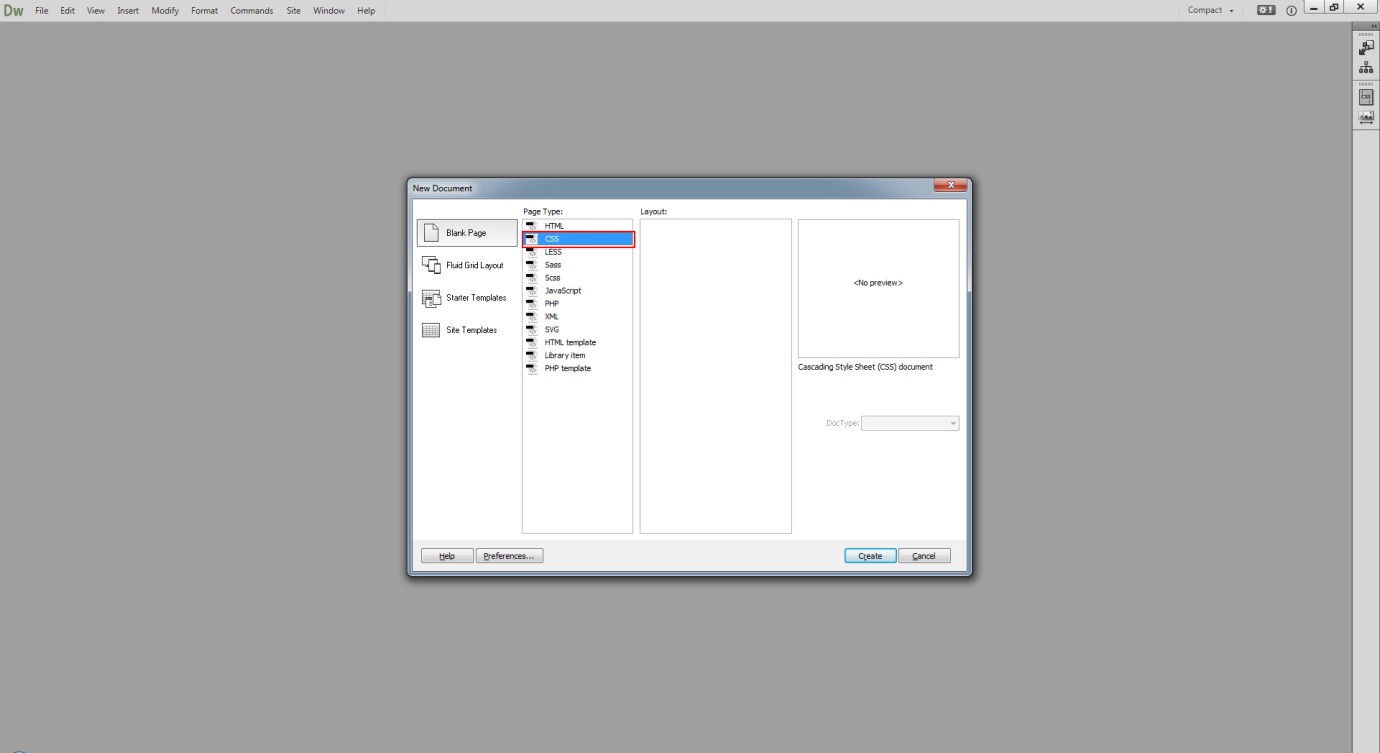
Next, you need the CSS file, so click File > New and select CSS.
You need to save HTML in the main folder and then CSS file in styles sub-folder.
<link rel="stylesheet" type="text/css" href="css/style.css" />

After attaching the CSS file you can find the CSS file here:
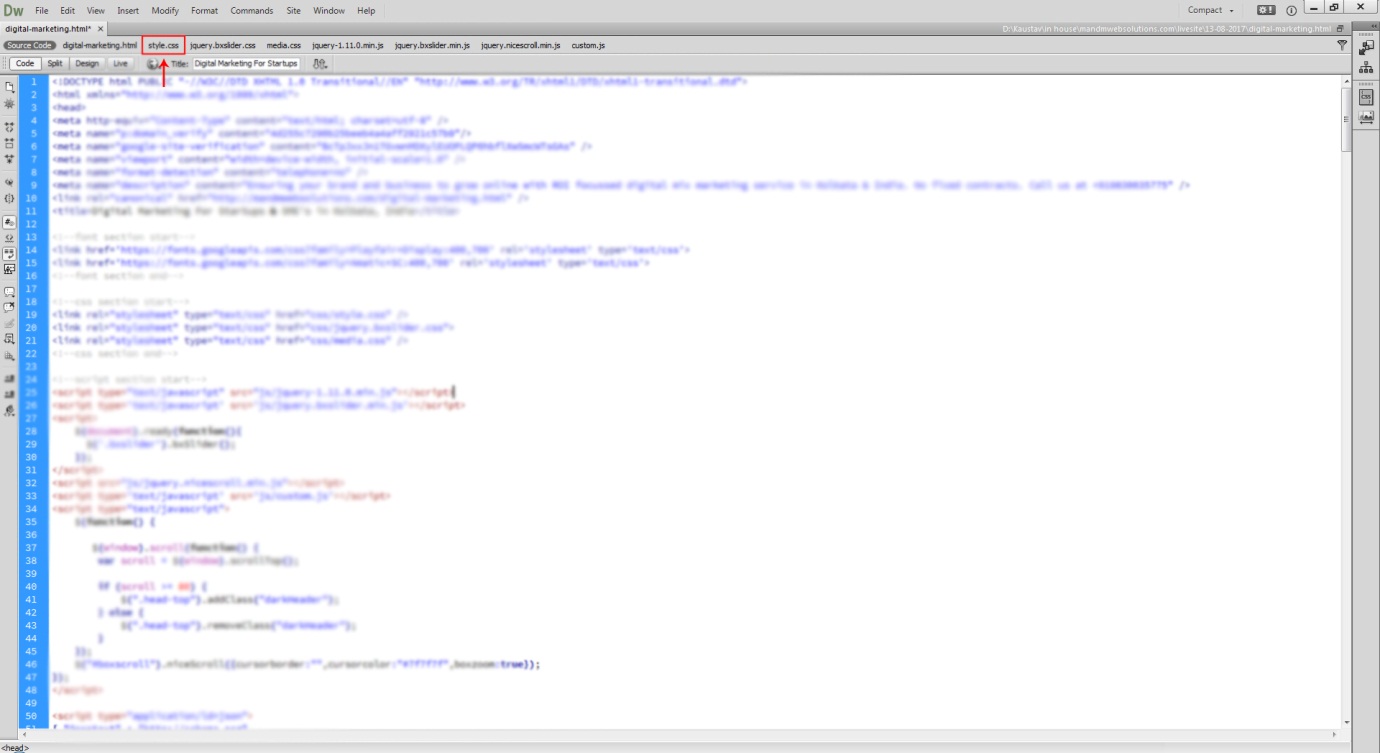
5. You need to call the div by going to the code of HTML and then to <BODY> and write the following inside it:
<body>

  <div class="header"> </div>

  <div class="content"> </div>

  <div class="footer"> </div>

</body>
In the CSS you can write like this:
.header{

overflow:hidden;

padding: 15px 0;

}

.content{

overflow:hidden;

padding:60px 0;

}

.footer{

overflow:hidden;

padding: 15px 0;

}
Save both HTML and CSS file.
6. Since your div would be divided into 3 parts, i.e. Header, Content, and Footer, you can write inside the content div.
You need to call it on HTML. Go to codes of HTML and between press Enter key to take empty space and write the following:
<body>

  <div class="header"> </div>

  <div class="content">

  <p>demo content</p>

</div>

<div class="footer"> </div>

</body>
In the css you can write like this:
.content p{

font-size:20px;

line-height:28px;

}
These are the steps you can follow for your PSD to HTML conversion in Dreamweaver.

