In this article, we will guide you in simple steps on how to password protect your entire WordPress website.
Steps to password protect your entire WordPress site
- You need to install and activate the free Password Protected plugin in the way you would install any other WordPress plugin.
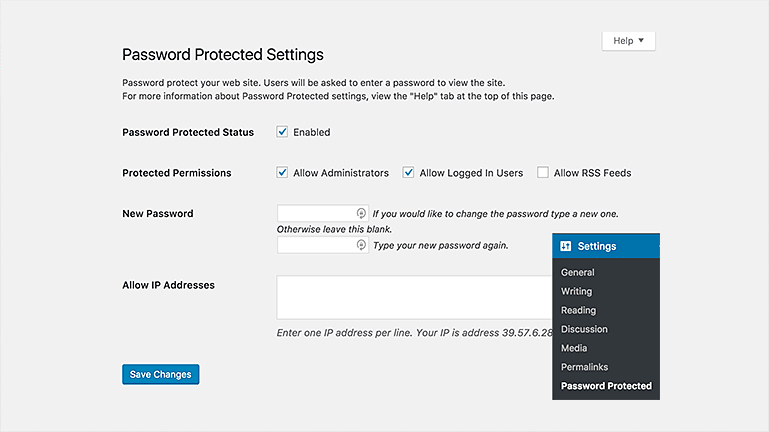
- Go to Settings>Password Protected page to configure plugin settings.
- Put the tick mark in the box next to Password Protected Status to activate password protection for your site.
- You have the option to check the Allow Administrators and Allow Logged In Users boxes. When you check one of these boxes, those people will not need to enter a password. Keep Allow RSS Feeds section unchecked if you want to keep the WordPress site private.
- In the New Password field, you need to enter the password you want to use for your site.
- In the Allow IP Addresses field, if you enter an IP address, the person visiting your site from that IP address wouldn’t be required to enter a password.
- Click the Save Changes that will keep the settings intact that you have made.
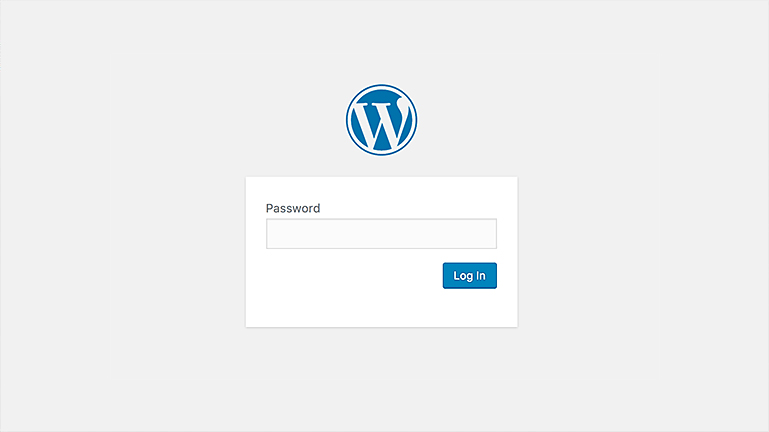
- If someone who doesn’t fit one of the access rules tries to access your site, they will see a screen like this:
These are the steps you should follow to strengthen the security of your WordPress website.


Mohammad Mohsin is a Web Consultant who writes about UI/UX experiences, Digital Marketing, New Web Trends and Leadership Skills. At M&M Web Solutions he leads an extremely talented team of Designers, Front-end and Back-end Developers who help to deliver online business solutions to startups, small business and large corporates across the globe.
You can connect with Mohammad Mohsin on LinkedIn
You can connect with Mohammad Mohsin on LinkedIn