In this post, we will guide you in simple steps on how to make a copy of a WordPress site manually.
Steps to Clone WordPress Site Manually
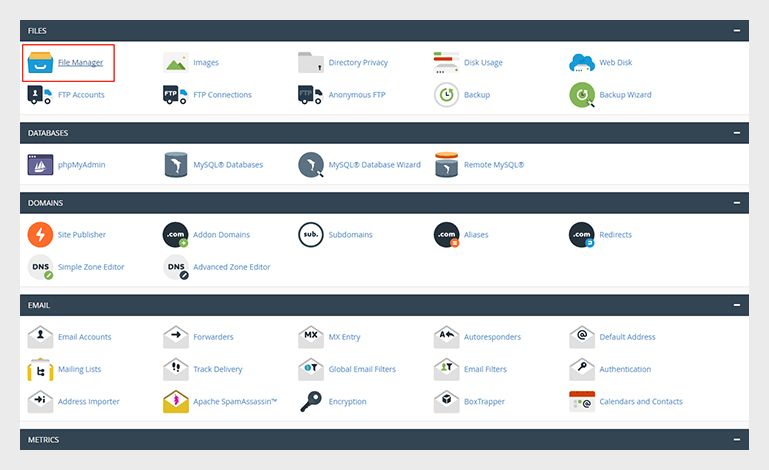
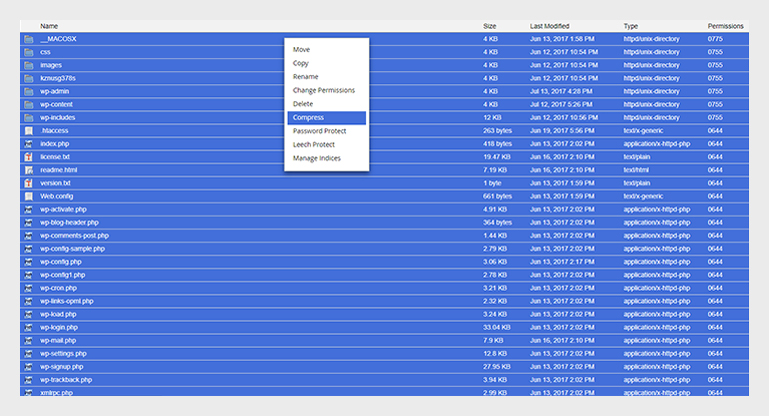
- Firstly, You need to log into your cPanel and click on the particular domain that you are wanted to clone. Go to file manager and compress all the WordPress files and download it.
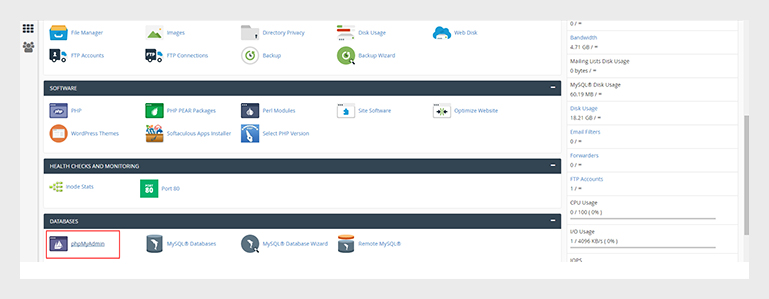
- You need to copy the database from your live site to your staging site to later test changes in your staging environment. To do this, you need to log into phpMyAdmin through cPanel and select your current live database. After you have selected, click the custom radio button.
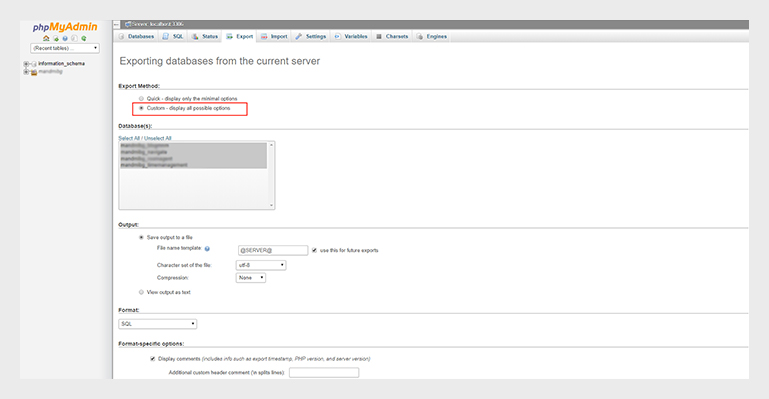
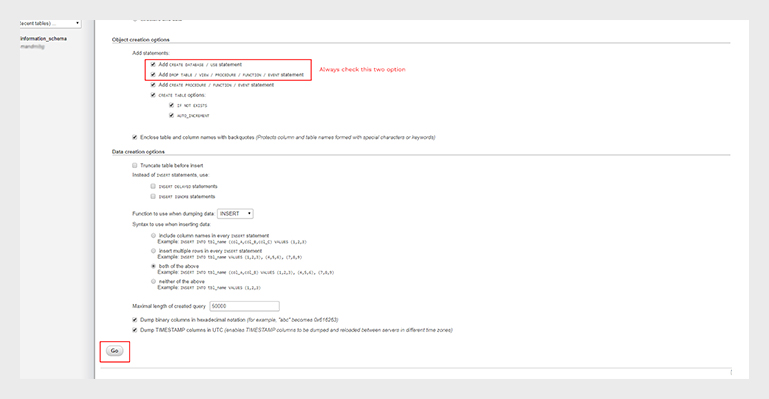
- Click the Go button to download the database.
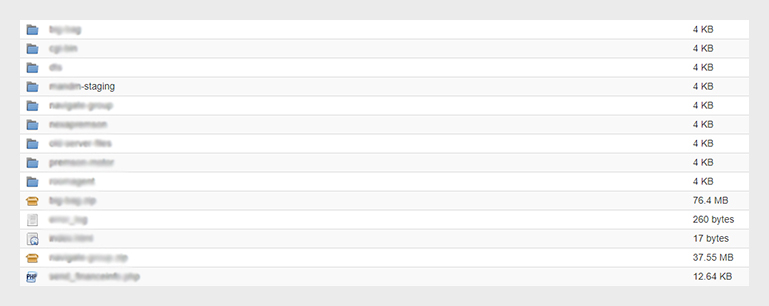
- After your database is downloaded, go to the staging server, locate file manager, enter into it and create a new folder with the name of the site ending with –staging. Upload the files to this folder.
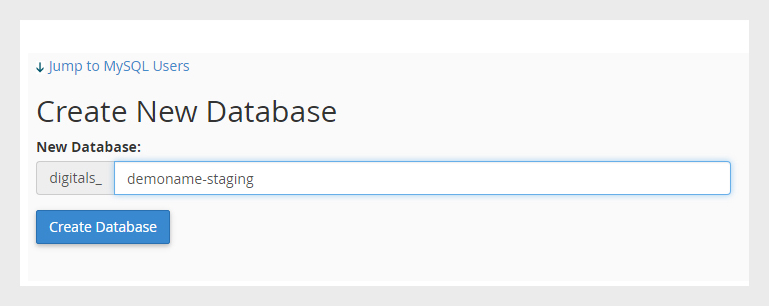
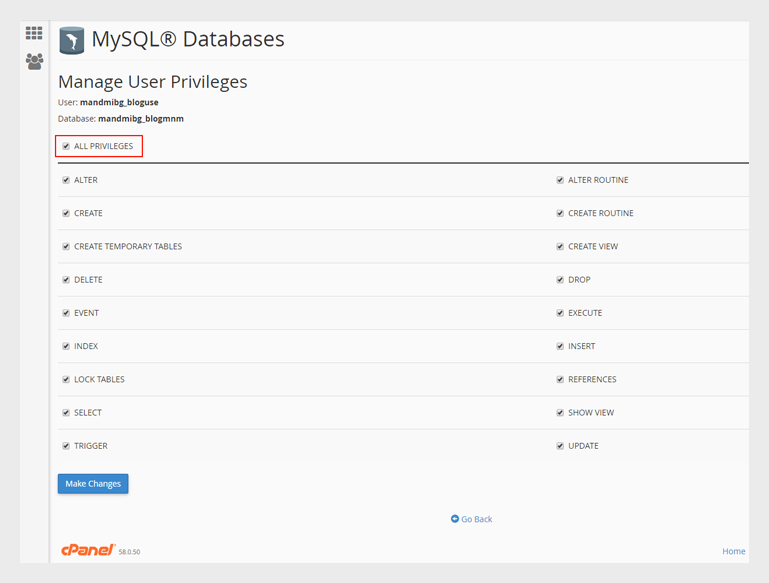
- Go to MySQL® Databases Create new database name, user, and password, give it all privilege permission, then go to phpmyadmin and locate the DB name and upload the downloaded database.
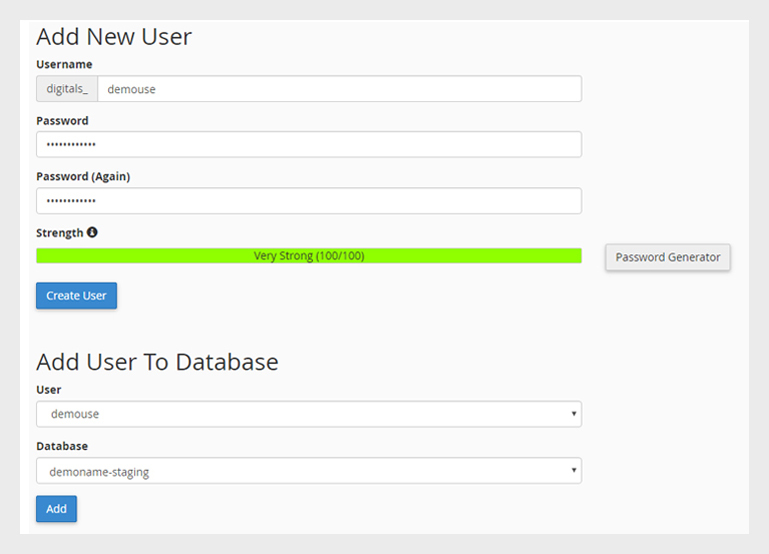
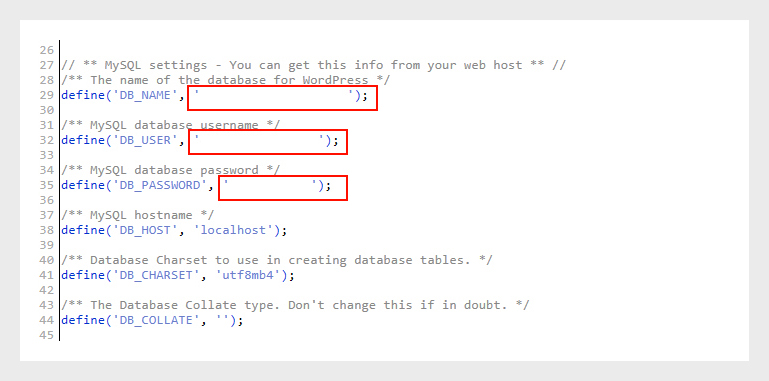
- Change the database name, database username, and password in the wp-config.php.
- Run the “kznusg378s” link changer folder to changing the link of the site. http://yourthemedesigner.com/Dragonfly/kznusg378s.zip
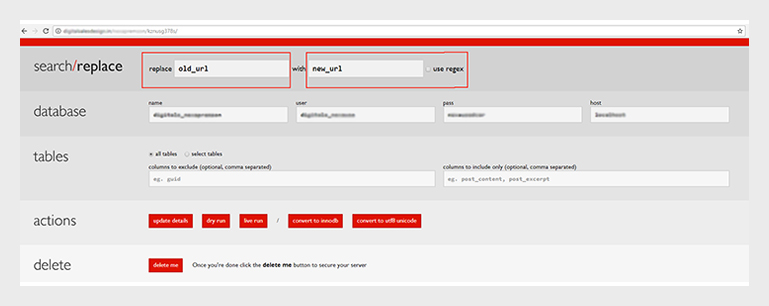
- After hitting the live run you can access the staging site with new URL.
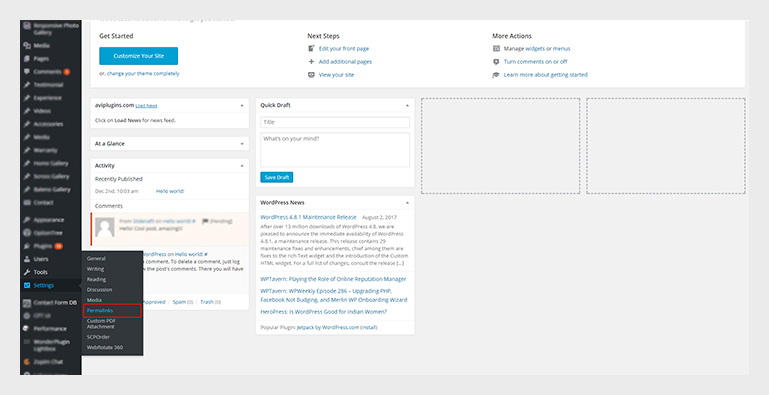
- Now log on to WordPress admin, and change the permalink to get the access to inner pages.
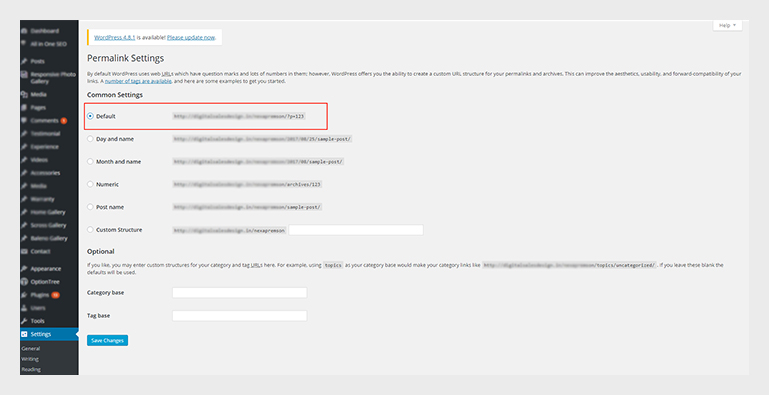
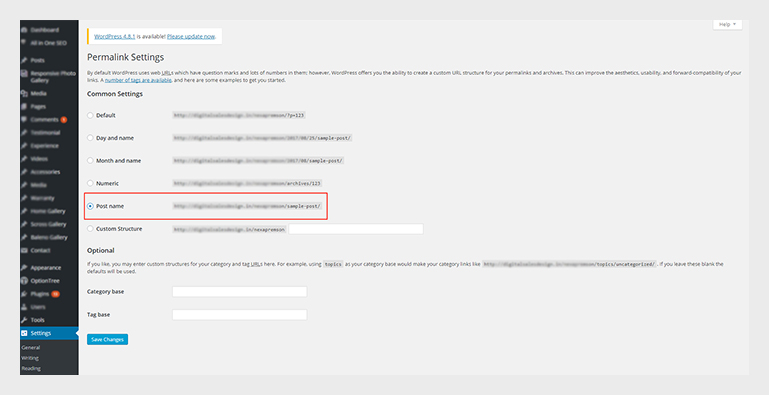
These 9 steps you should follow to manually clone your WordPress site manually for testing to live.


